

Happy Monday! The kids and I had a fantastic weekend! As many of you may know from following us on Instagram that we are always building or creating something or trying a new experiment. Basically my kids and I are a family of adventurous wonders. In our pursuit to healthy clean eating we have decided that we are going to start an above ground organic garden this spring and plant our own food. The kids were super excited. We headed to Home Depot to purchase our wood and decide what size we wanted to make our garden. We all mutually decided to do a 3X3 garden which will become the kids garden next year and I will start a larger one after we see how this experiment turns out. P.S. Letting the kids do the shopping was so much fun!

Mr. William was amazing! He provided us with amazing customer service. He was super patient and walked the boys and I through the process and explained to us why we needed the size wood that we purchased. This was a great educational moment for both the boys and I.

Once Mr. William cut our wood we were on our way in search for nails to complete our project. I had no idea what size nails we would need so I called a friend to ask while having my 12-year-old search for another associate to help us. I was not happy with the service that I received from the second associate. We asked him to help us with finding the correct size nails for our project and he was extremely rude but God always has a ram in the bush. A gentleman name Mr. Tony walked up to us and explained to us what size nails we needed and why we needed that size. Mr. Tony told us that he had a local shop and if we brought the wood to the shop he would help us. Once we made our purchase we headed to see Mr. Tony.

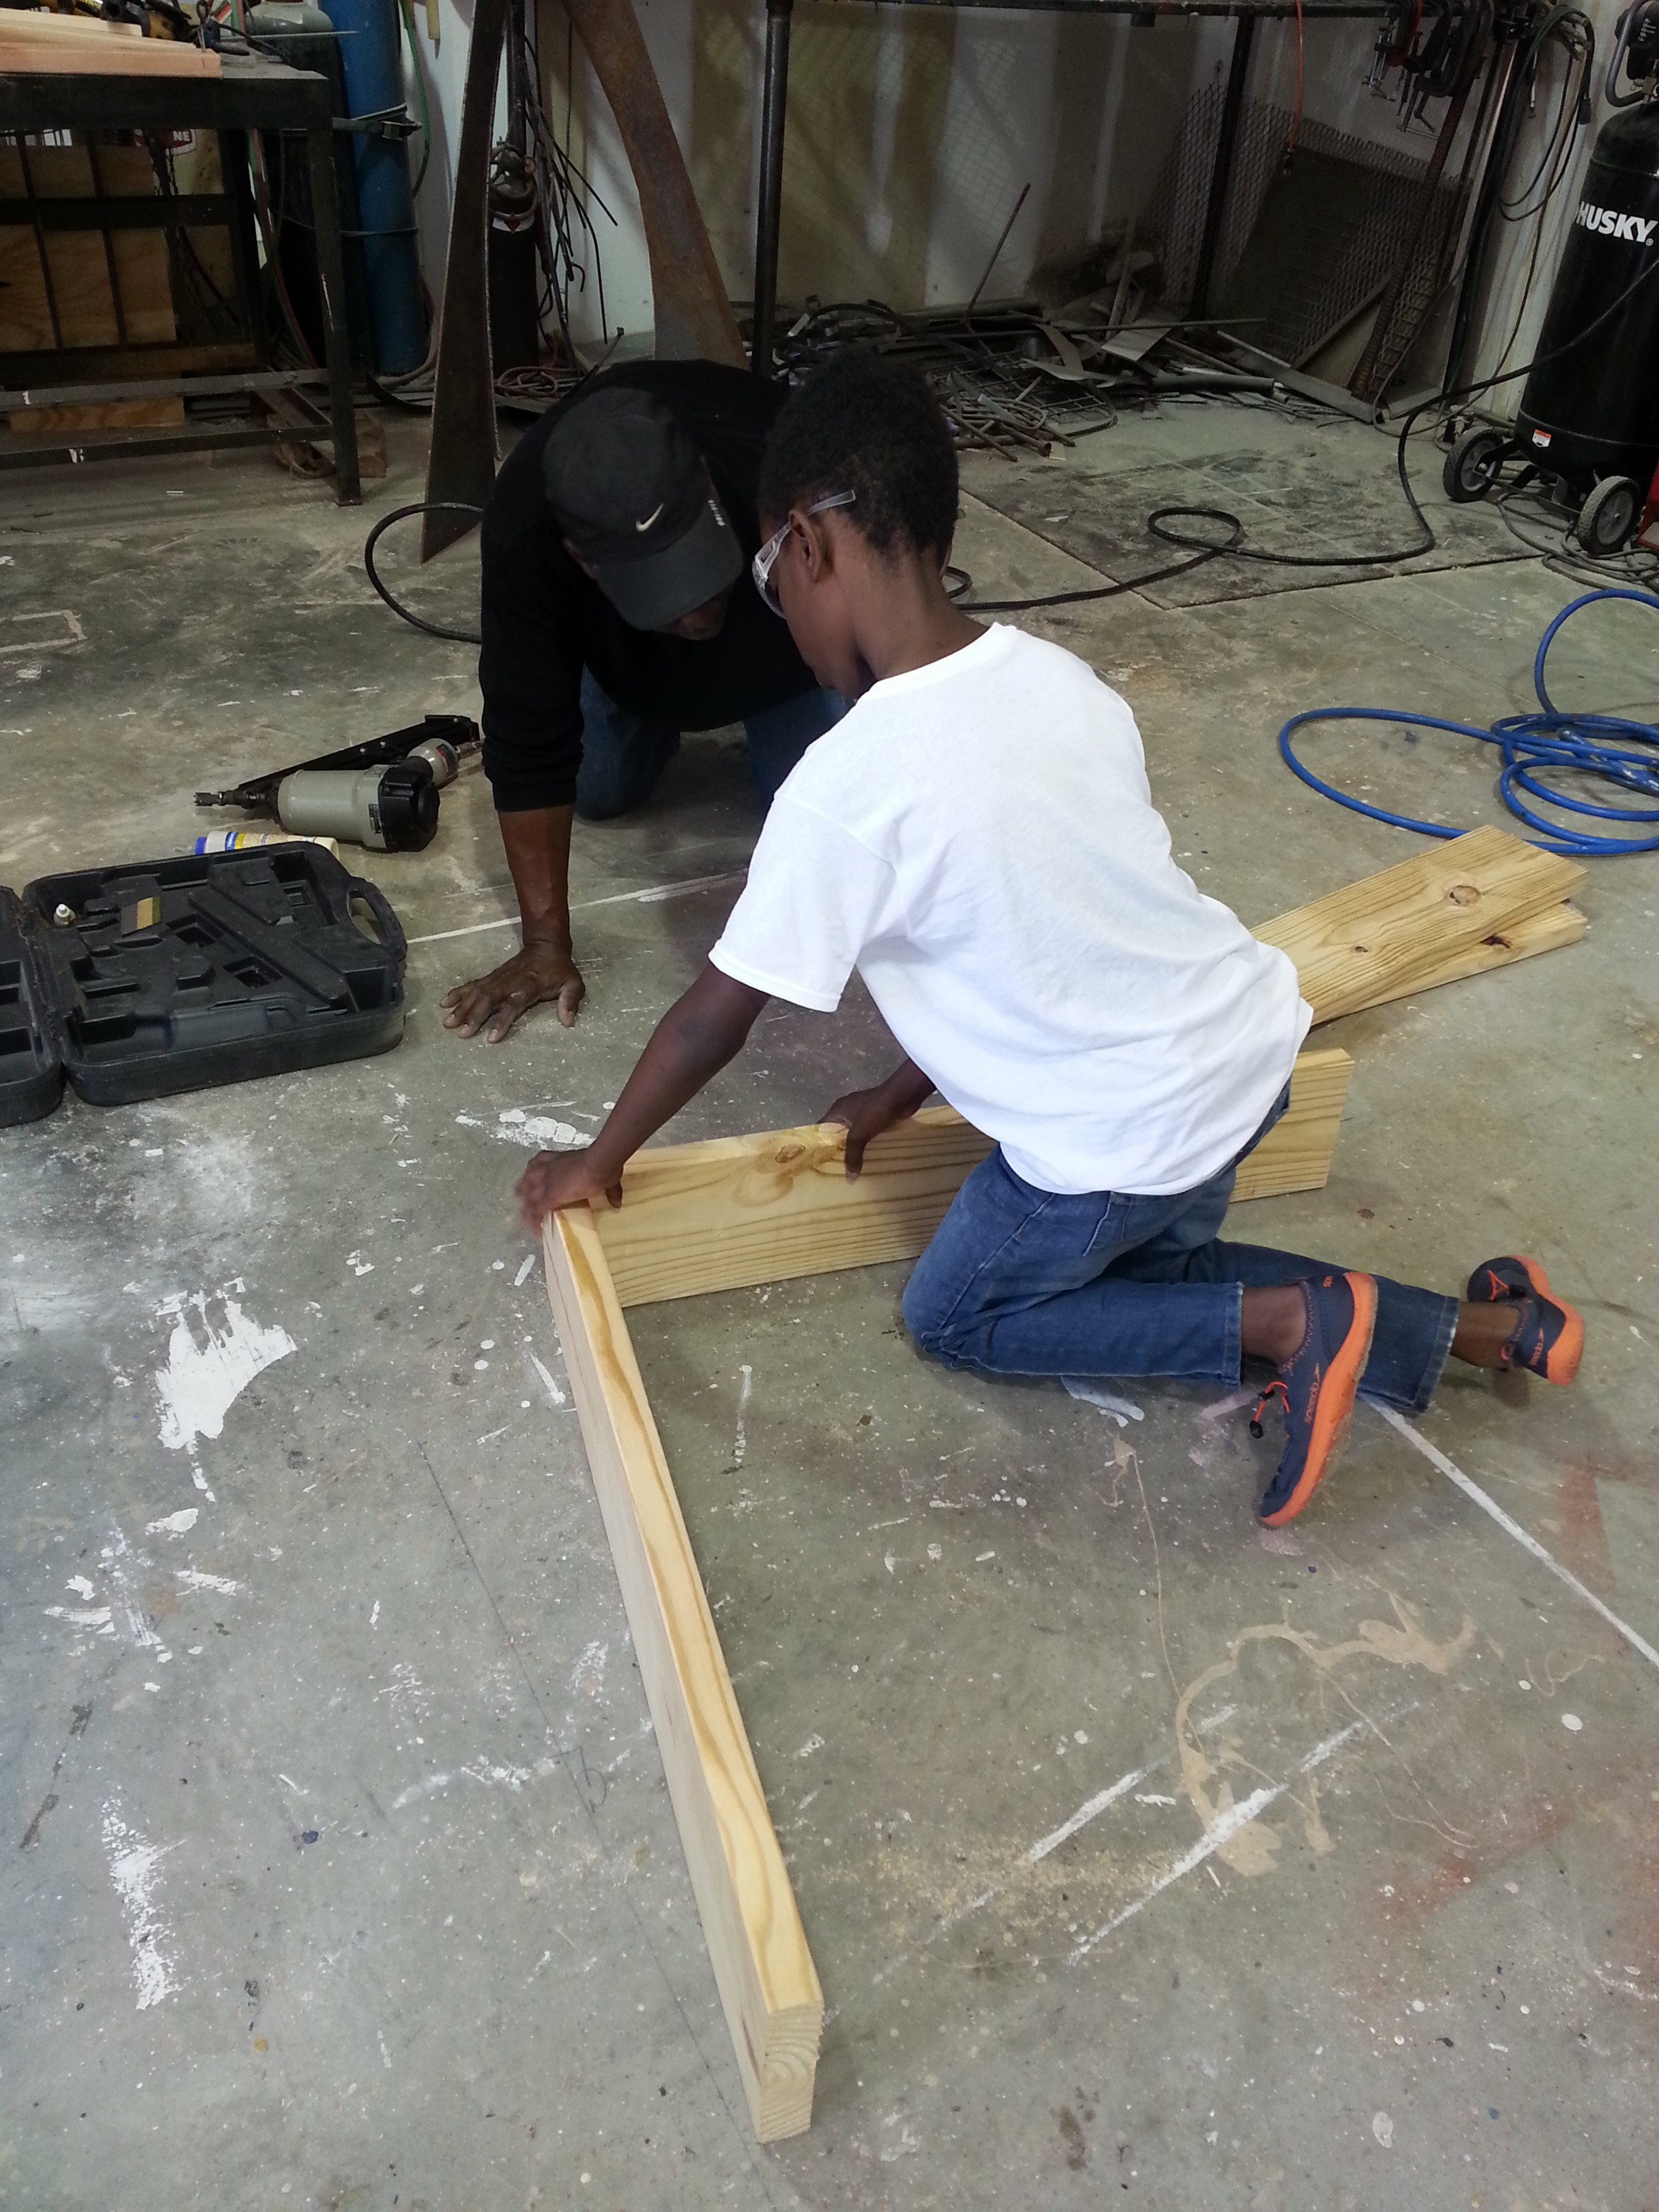
Mr. Tony is a retired shop teacher and has taught countless students over his teaching career. I watched as he guided Billy through each meticulous step by step detail as he built our garden box. Billy needless to say was super excited! He loves working with tools and building anything that he can get his hand on. Billy gathered all of the tools that he needed for the project per Mr. Tony’s instruction and patiently awaited the next steps in building the garden box.
Step 1: Put on Safety Gear
Step 2: Gather Tools

Step 3: Line your boards up in preparation for building your garden box.

Step 4: Ensure that your wood is aligned equally before gluing or nailing together.

Step 5: Glue the wood together to form the garden box then either hammer the nails inside or use a nail gun. Billy used a Pneumatic Nail Gun with Adult Supervision.


Step 6: Admire your work!!


As a single mother raising young men I ensure that I expose them to things that kids who have an active father in their lives would normally do. I find it very difficult at times as a woman raising young men to be young men so when Mr. Tony approached us in the store I knew that he was God sent. Especially with so much going on in society its hard to find a positive role model and someone who is willing to take out time from their busy schedule to help. I am extremely appreciative to Mr. Tony. The experience that we all shared today as a family when Billy built the garden box is one that we would never forget and we will forever be grateful. The joy that I felt from a total stranger helping us today just made me cry. I encourage other males in their community to stop and lend a hand to a single mother at least once. You will be surprised how you will make their day. Thank you Mr. Tony!
Stay tuned for our “How To Start An Above Ground Garden” post coming soon. Have you built an above garden before? We would love to hear your story!
~Turkesha